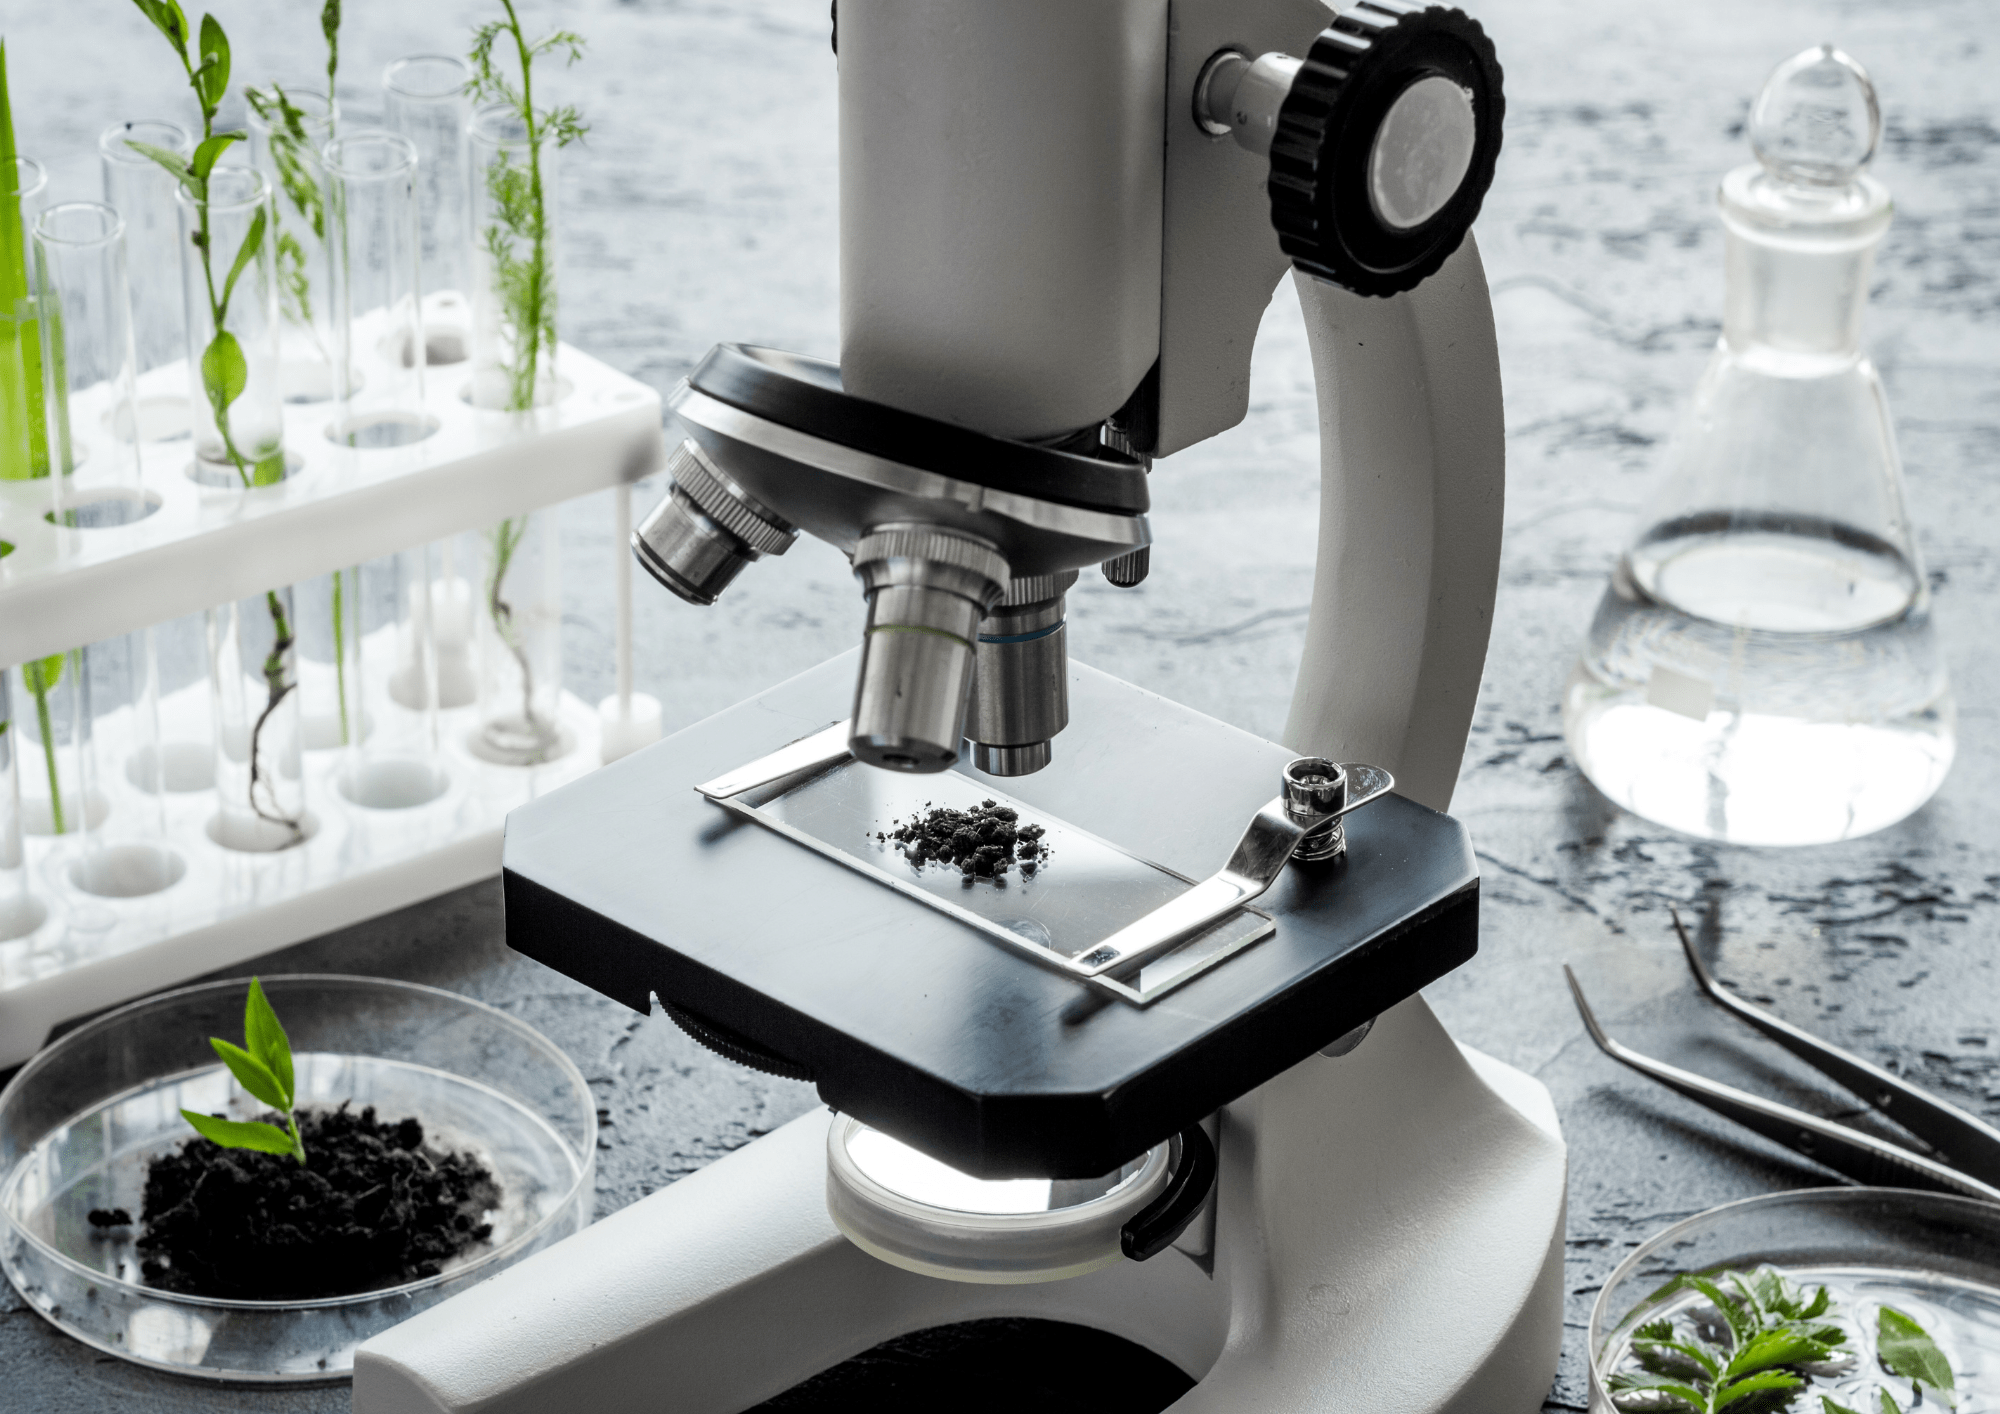
Explore the Microscopic World with Biological Microscope
Microscopes have made tremendous progress in the discoveries of life science, from bacteriology to immunology, with an aim to explore everything on a microscopic scale. Generally, Microscopes are optical instruments that allow the researcher to view a microbial world that is too small to be seen by the naked eye. The lens produces magnified images and insights into biological species such as bacteria, fungi, and other single-cell creatures, in their form, and structure. The reason why many scientists see microscopes as the most important scientific equipment for examination and observation purposes.Furthermore, with advanced features in Microscopes, biologists can document microbiology and bacteriology in real-time operation. These Microscopic results in the creation of beautiful and colorful images of the specimen’s sample. Based on the type of applications, different microscopes such as Compound Microscopes, Metallurgical Microscopes, Microcirculation microscopes, and Stereo Zoom microscopes are used to solve unique problems.
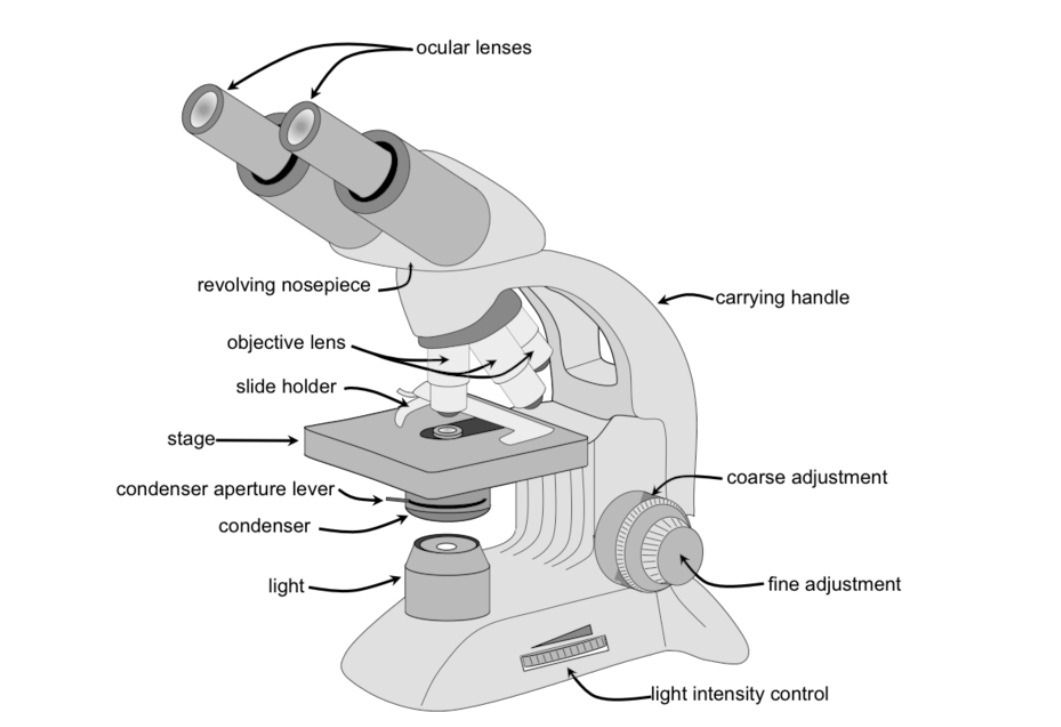
The mass majority of microscopes have the common 'structural' components:
• Objective
• Focus wheel to move the stage
• Frame
• The light source, light or mirror
• Diaphragm or condenser lens
• Stage (to hold the sample)
• Base
• Phototube (for camera attachment)
This Article will cover biological microscopes and explain features and operations.
What is a Biological Microscope?
A Biological Microscope also referred to as a Compound Microscope allows the researcher to study microorganisms, cells, crystalline structures, molecular structures, and tissue sample reading to examine microscopic samples of specimens. Biological microscopes are employed by researchers and scientists, and lab technicians to scrutinize the reading of transparent objects to thick cultures. In a Biology Lab, these microscopes provide greater resolutions of biological cells and tissues, with the ability to explore and zoom much higher magnifications.The sample ready to view under Biological Microscopes must be prepared on a microscope slide using a coverslip to compress the sample. The magnification of a biological microscope is generally between 40x and 1000x with a blue, yellow, and green filter; either LED or halogen light sources. More Advanced Biological Microscope comes with equipped Digital Camera for better imaging systems, extensively used in cell research centers, forensic medicines, and studying high-resolution molecular studies.
The table below estimates the calibrating of a microscope through the precise measuring of the organism’s dimensions.
| Objective magnification | Field of Diameter View |
| 2.5X | 10 mm = 10,0000 microns |
| 5.0X | 5 mm = 5,000 microns |
| 10X | 2.3 mm = 2,300 microns |
| 20X | 1.15 mm = 1,150 microns |
| 40X | 0.56 mm = 560 microns |
Creating Images in Compound Microscope
Images are created within a bright filed microscope, as a result of an interplay between light waves, objects, and the lenses. The way images of biological specimens are produced is more physics than biology. When the Light waves pass through and interact with an object, it might slow down or suddenly change direction due to media interaction such as air, water, oil, cytoplasm, etc which hold different densities.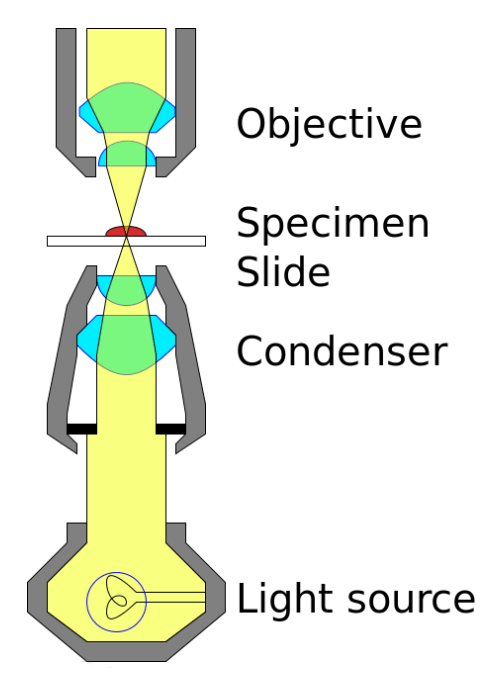
For instance, in the case of a thicker and denser specimen when light waves are passed through could be reflected or refracted more than the thinner part of the specimen. Therefore, the thicker part of the specimen would appear darker in the image, while the thinner parts appear lighter.
For Biological Microscopes or Compound microscopes, the optical path leading to the formation of a detectable image involves two lenses known as an objective lens and the ocular lens. The objective lens operates to magnify the object creating a real image that appears to be 4, 10, 40, or 100 times larger than the actual object. whereas the ocular lens magnifies the real image by adding a factor of 10 to produce a massive virtual image of the object.
The light illuminates the object with light intensity and the angle is focused by a condenser lens located below the stage and adjustable condenser knob. The condenser knob focuses light through the object to match the aperture of the objective lens above. The formation of the iris diaphragm is essential for the quest for creating a perfect image, therefore it is opened to adjust the image brightness or even closed to dim the light. However, these adjustments are subjective depending upon the preferences of the study. This is how an object creates an image that users see through a Compound microscope.
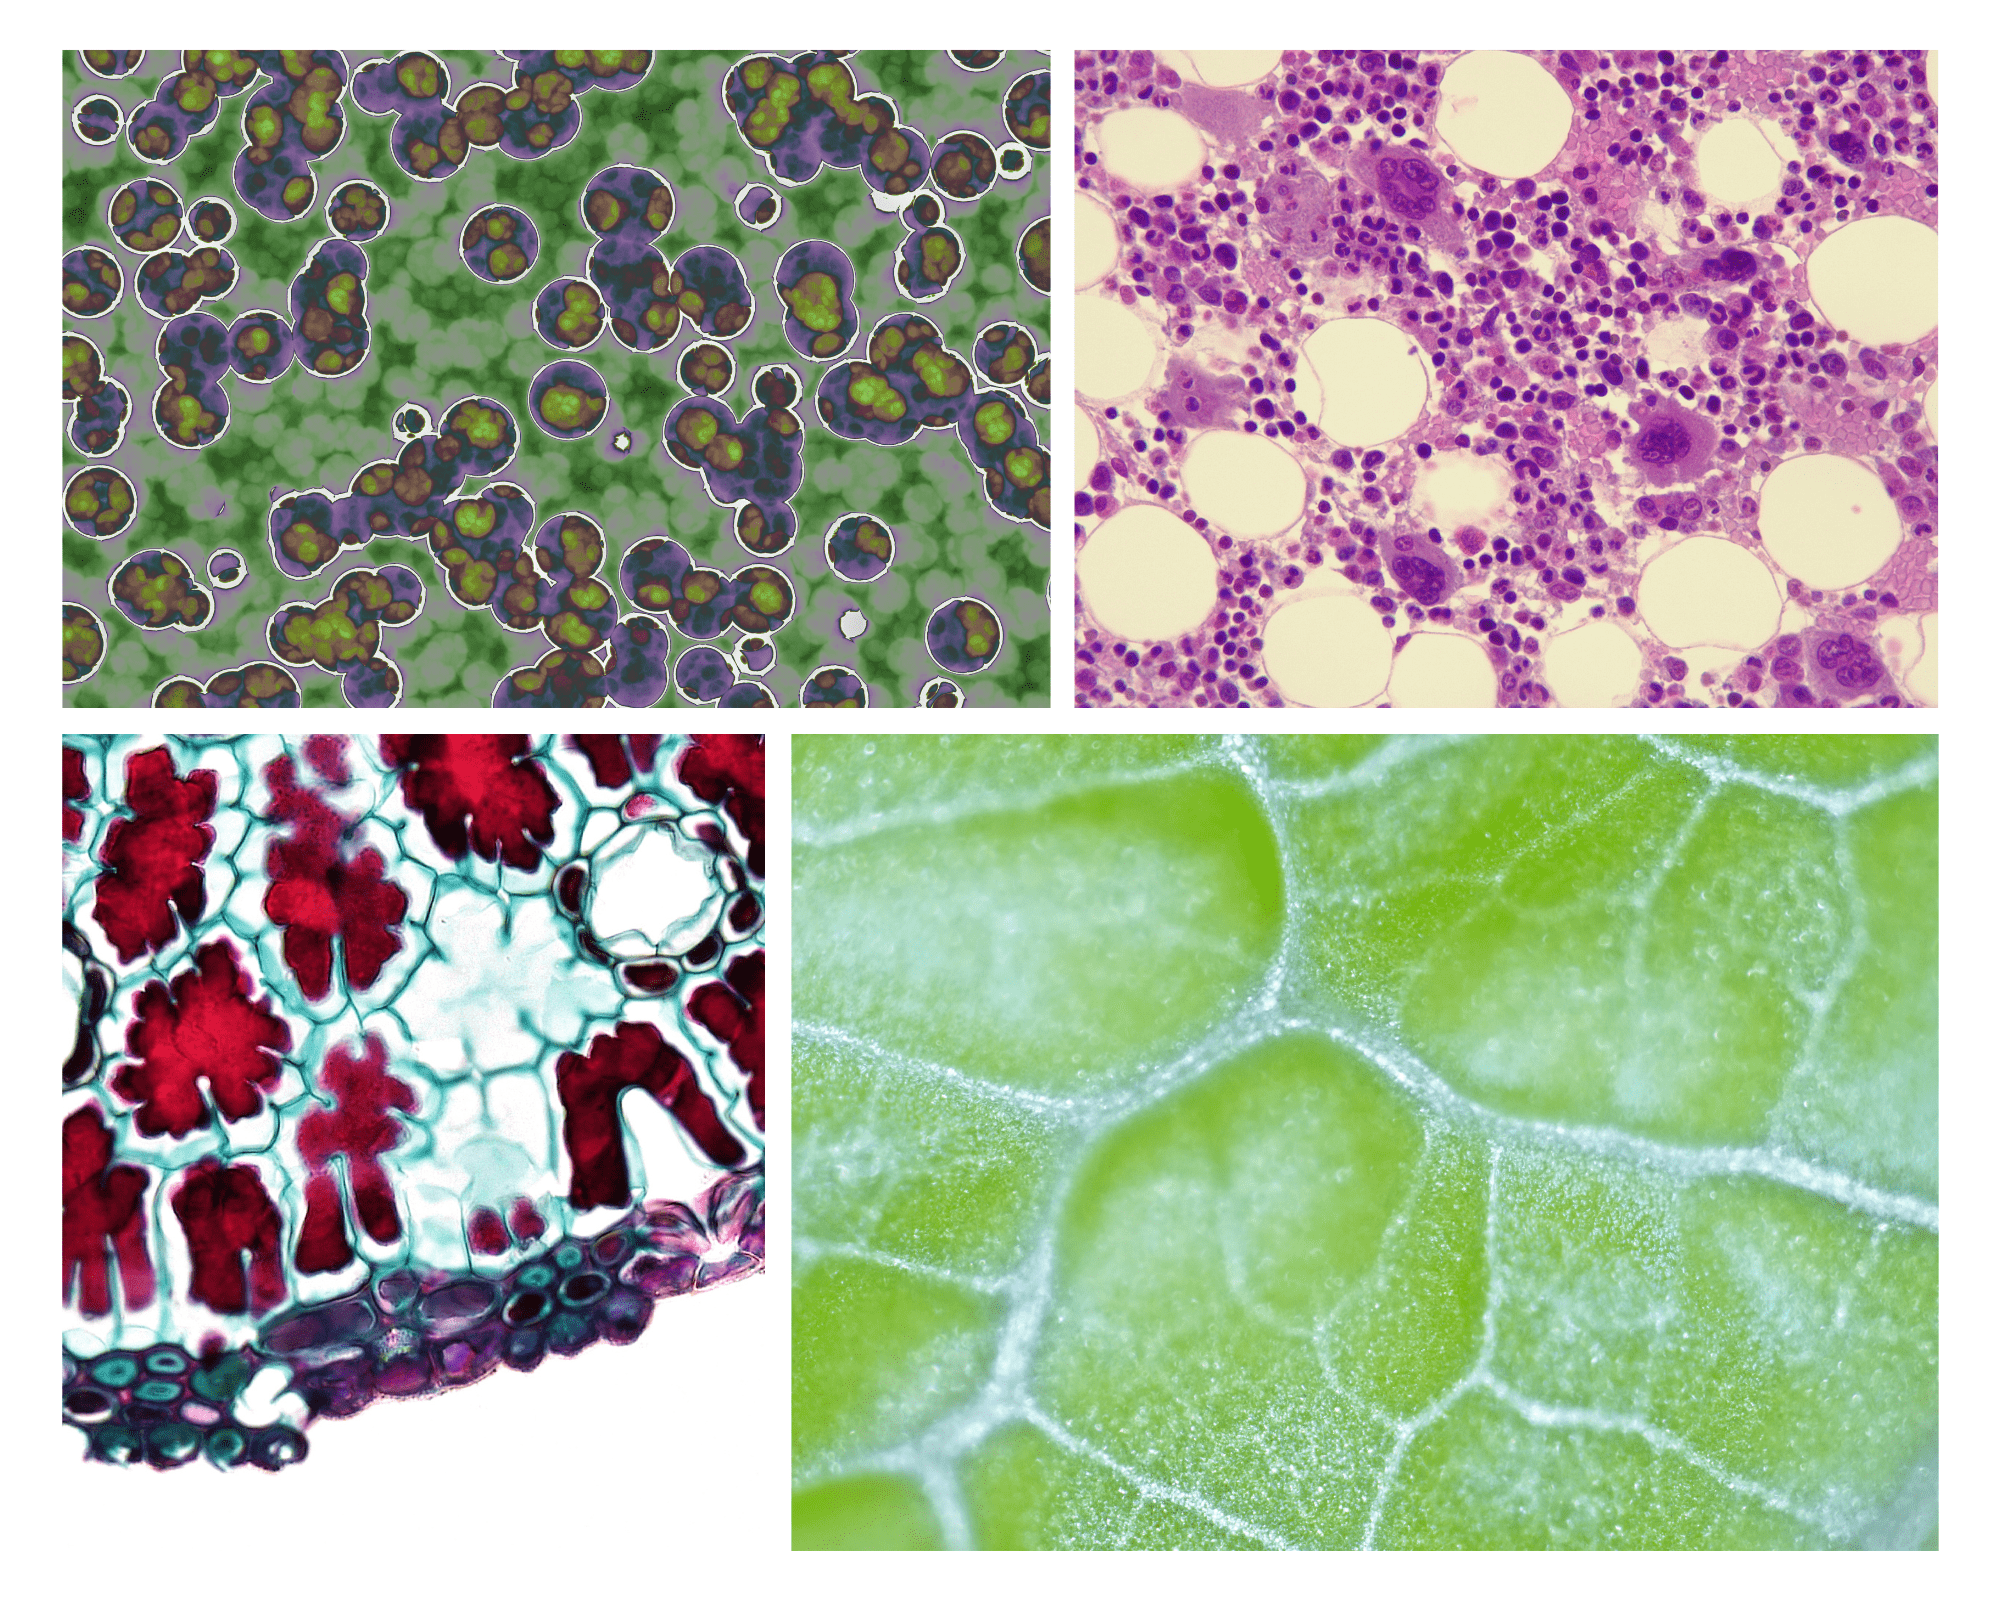
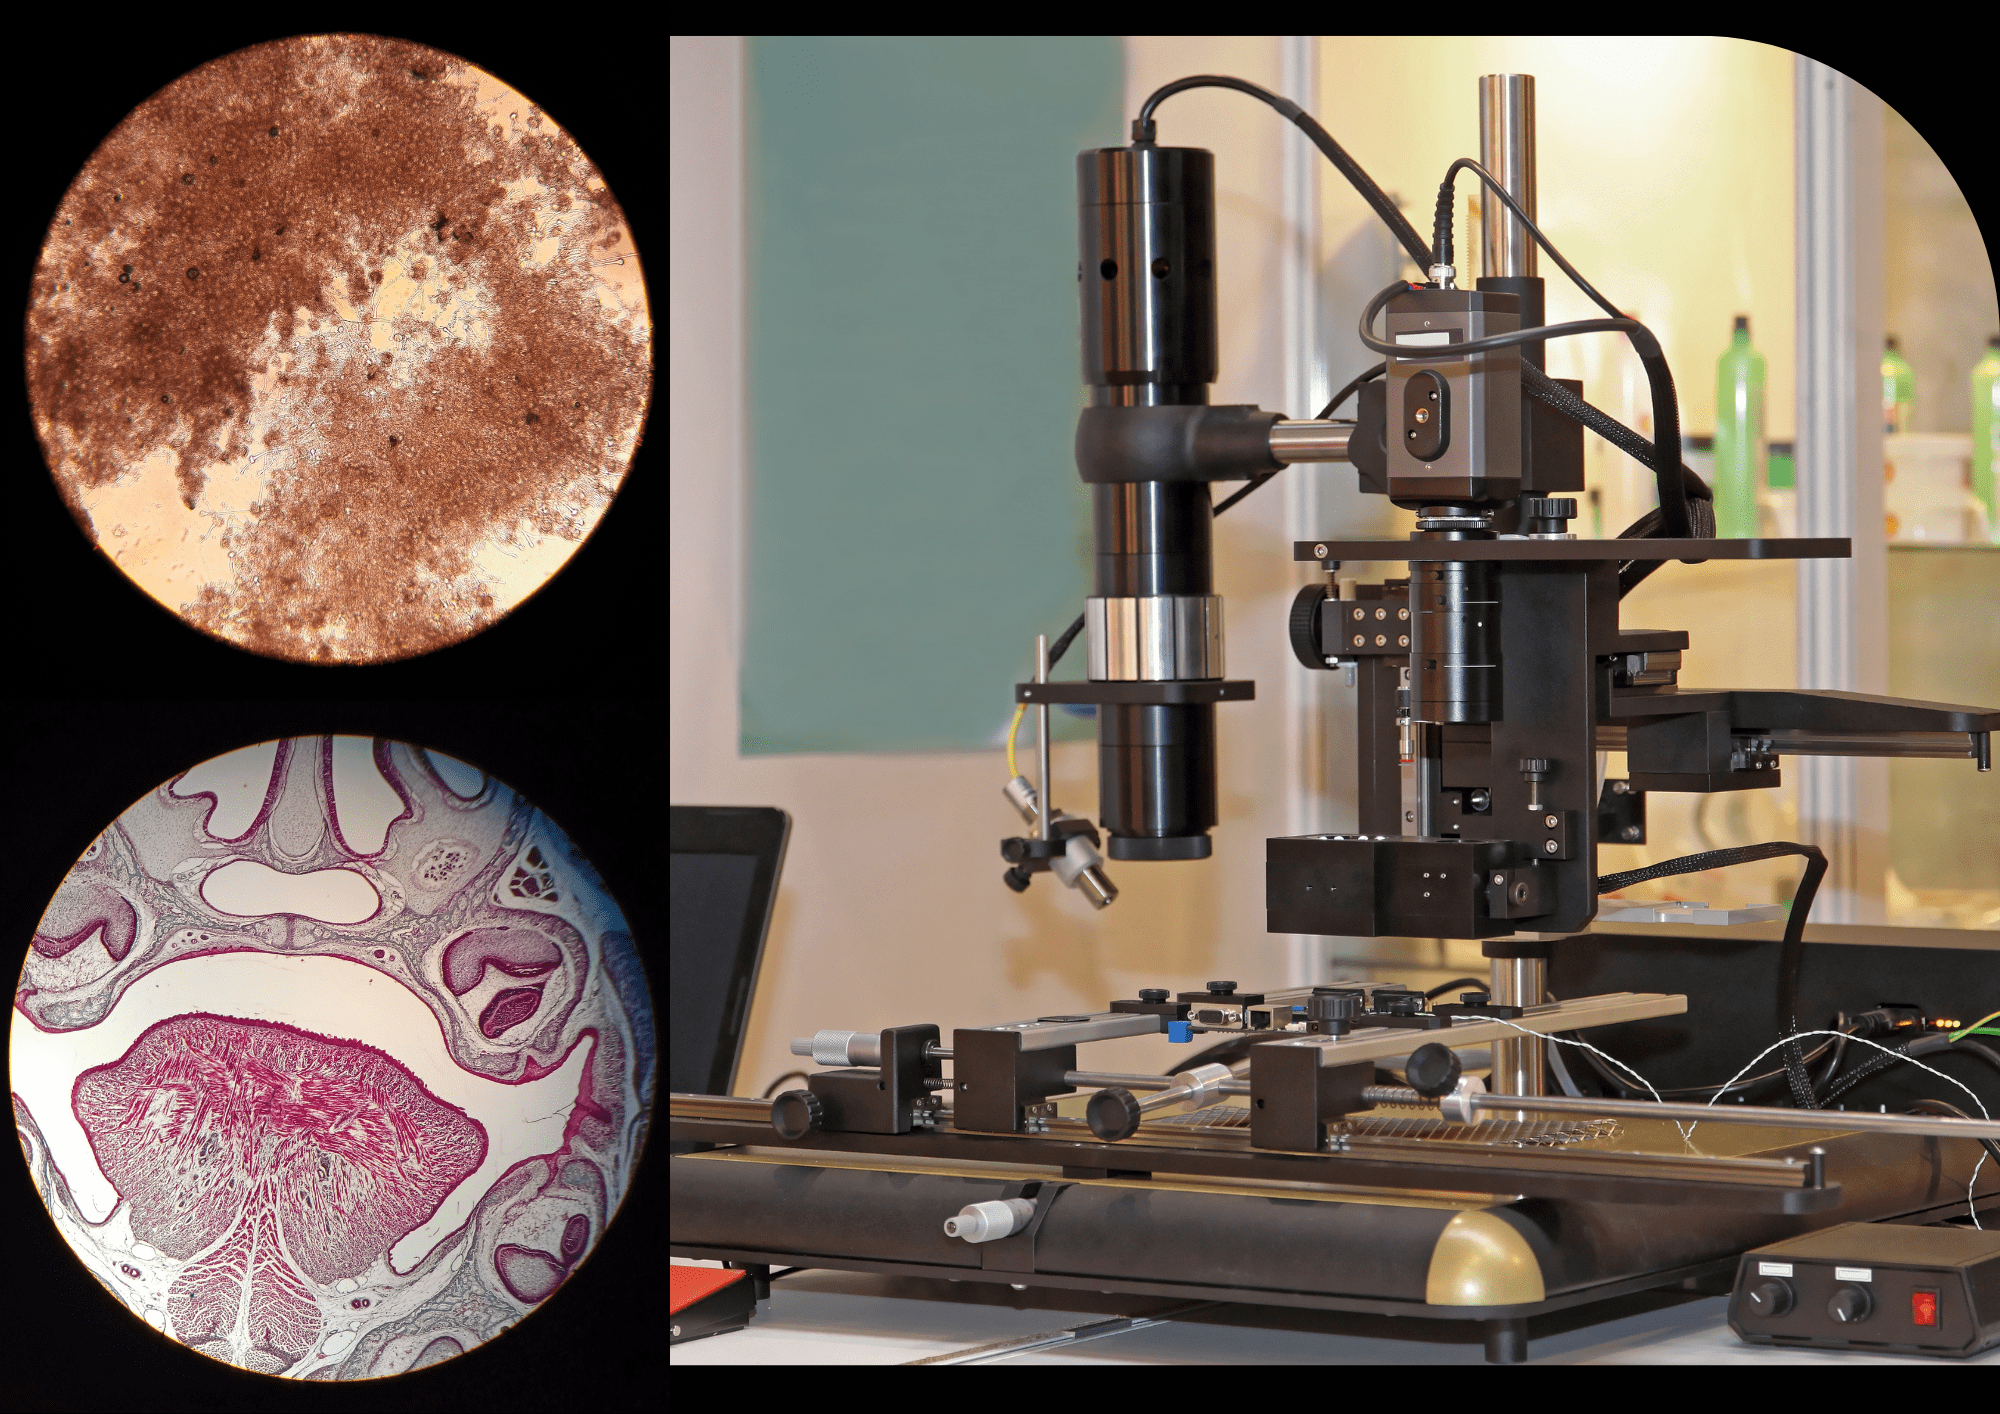
Given Below are the Images created
The future of microscopic studies
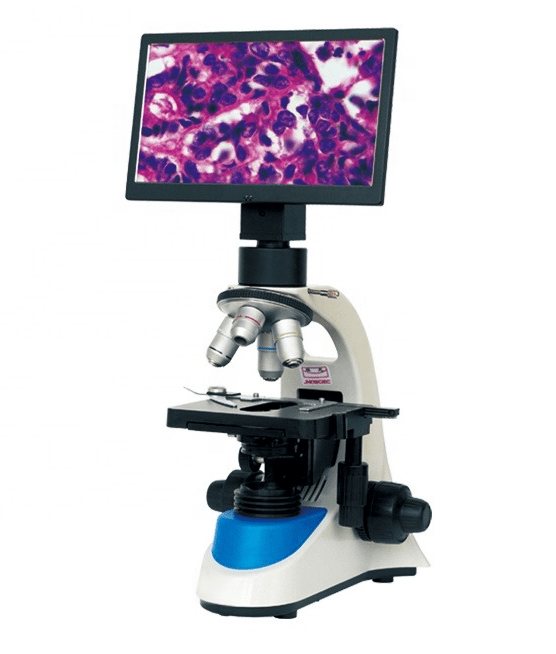
A digital biological microscope comes with inbuilt software that runs on a system/laptop to enhance the microscopy function. The user is allowed to see and extract images, including video recording, measuring, anecdote/labeling, photo editing, and sharing. However, in some series, digital microscopes are more likely to further advance with technologies of image processing and user-friendly operations. These add-on features have revolutionized the field of microscopy, scientific research, and discoveries by making it easier, more accessible, and cost-effective.
Procedure to Operate Digital Microscope
Assemble: Read the manual instruction carefully to assemble all the necessary components before placing the sample specimen. Install the necessary software or drivers required to function the features of a microscope. Run the software and adjust the settings such as resolutions and magnifications, and connect the camera attached or USB cable connected to the computer system/device.
Place the Specimen: Prepare the specimen by cleaning, cutting, or mounting it on a side. Place the sample specimen on the microscope stage and adjust the focus with fine focus knobs or buttons until the sample appears with clarity through the eyepiece or on the monitor of the microscope. To adjust the magnification, select the desired tool in the software or use the physical zoom button to manually adjust the magnification.
Adjust the Light: Adjust the brightness or contrast of the image that comes with inbuilt (in some series) LED lights to illuminate the sample with light intensity and angle.
Capture Images or Videos: After adjusting light and placement, use the software to capture images and videos of the specimen. Observe the image of the specimen and document necessary measurements in terms of width, length, diagonal, and circular measurements. User is allowed to share and transfer images and videos to a computer system and device for future reference.
Document & Clean: Examine, document, and store the files for reference in computer devices. Ensure the lens is cleaned after use and stored in a clean and safe place, free from dust and other components.
Bottom Line
Discover the invisible wonders of the microscopic world through technologically advanced Microscopes. Make the right investment in the Labstac Microscope for your research study; also, do refer to the instructions that come with a particular microscope. For any questions about Compound, Metallurgical, Microcirculation, and Stereo Zoom microscopes, Contact Labstac today!You May Also Like